“The pleasure of wearing a handmade shoe of pristine quality mainly resides in the awareness that it takes great artisanal ability, taste, sense of proportion, knowledge of leathers and materials, unvaried throughout centuries. Within the apparel industry, the creation of shoes is the one that entails more labor than all other departments of fashion. More specifically, the creation of a pair of shoes can imply up to forty hours versus only nine hours for the conception of a blouse. It’s been calculated that the handiwork of a pair of handmade shoes entails about two-hundred individual steps, ranging from the selection of leather to the final placement in the shoebox. This is the signature of our craft”.
Live an unique experience
The Marini bespoke experience starts with the measurement of the Client›s feet, performed by our specialized artisans. The Client is then assisted by specialists to decide the following features of their one of a kind shoe: the model, the leather, the sole, and every other detail in order to make the shoe a unique piece. Once the wooden form has been created from the client›s measurements, the shoe is then created. This process derives fromthe ancient method of latinArs Sutoria, through a process that lasts over forty hours and set up of more than two-hundred operations, entirely hand made by our master shoemakers. Once finalized and checked, the shoe is delivered to the Client, whereas the personalized wooden form will allow us to satisfy every new future order without having to repeat the measurement phase
The measuring procedure follows a methodic and precise process which has been perfected over the years: infact it can be considered the most fundamental aspect of the preparation of the wooden last. The last is the perfect substitute of the foot during the shoe making process, allowing the artisan to construct a unique and inimitable masterpiece. Firstly, it is important to analyze and feel the foot to establish the conformation and its unique characteristics. Subsequently, we use three very simple yet vital tools: a ruler, a pencil and a piece cardboard to measure around the outside, height and width of the foot in various positions (both flat, and in motion) in order to obtain greater precision when making the shoe.
The last (shape) is an exact replica, usually made of wood, of the human foot. It serves for two main purposes: the first to offer a surface for the artisan to lay out the leather on, while the
second is to follow the correct proportions of the desired shoe model.
The wooden shoe is made based on the client’s measurements: starting from a standard shape, the artisan achieves the personalized last through two steps. The first is that of filing (limatura), which eliminates the excess materials by using sand paper and other specialized tools. The second is with the added method (giunta), through which the wooden last is fitted to the desired size by fixing different types of skins.
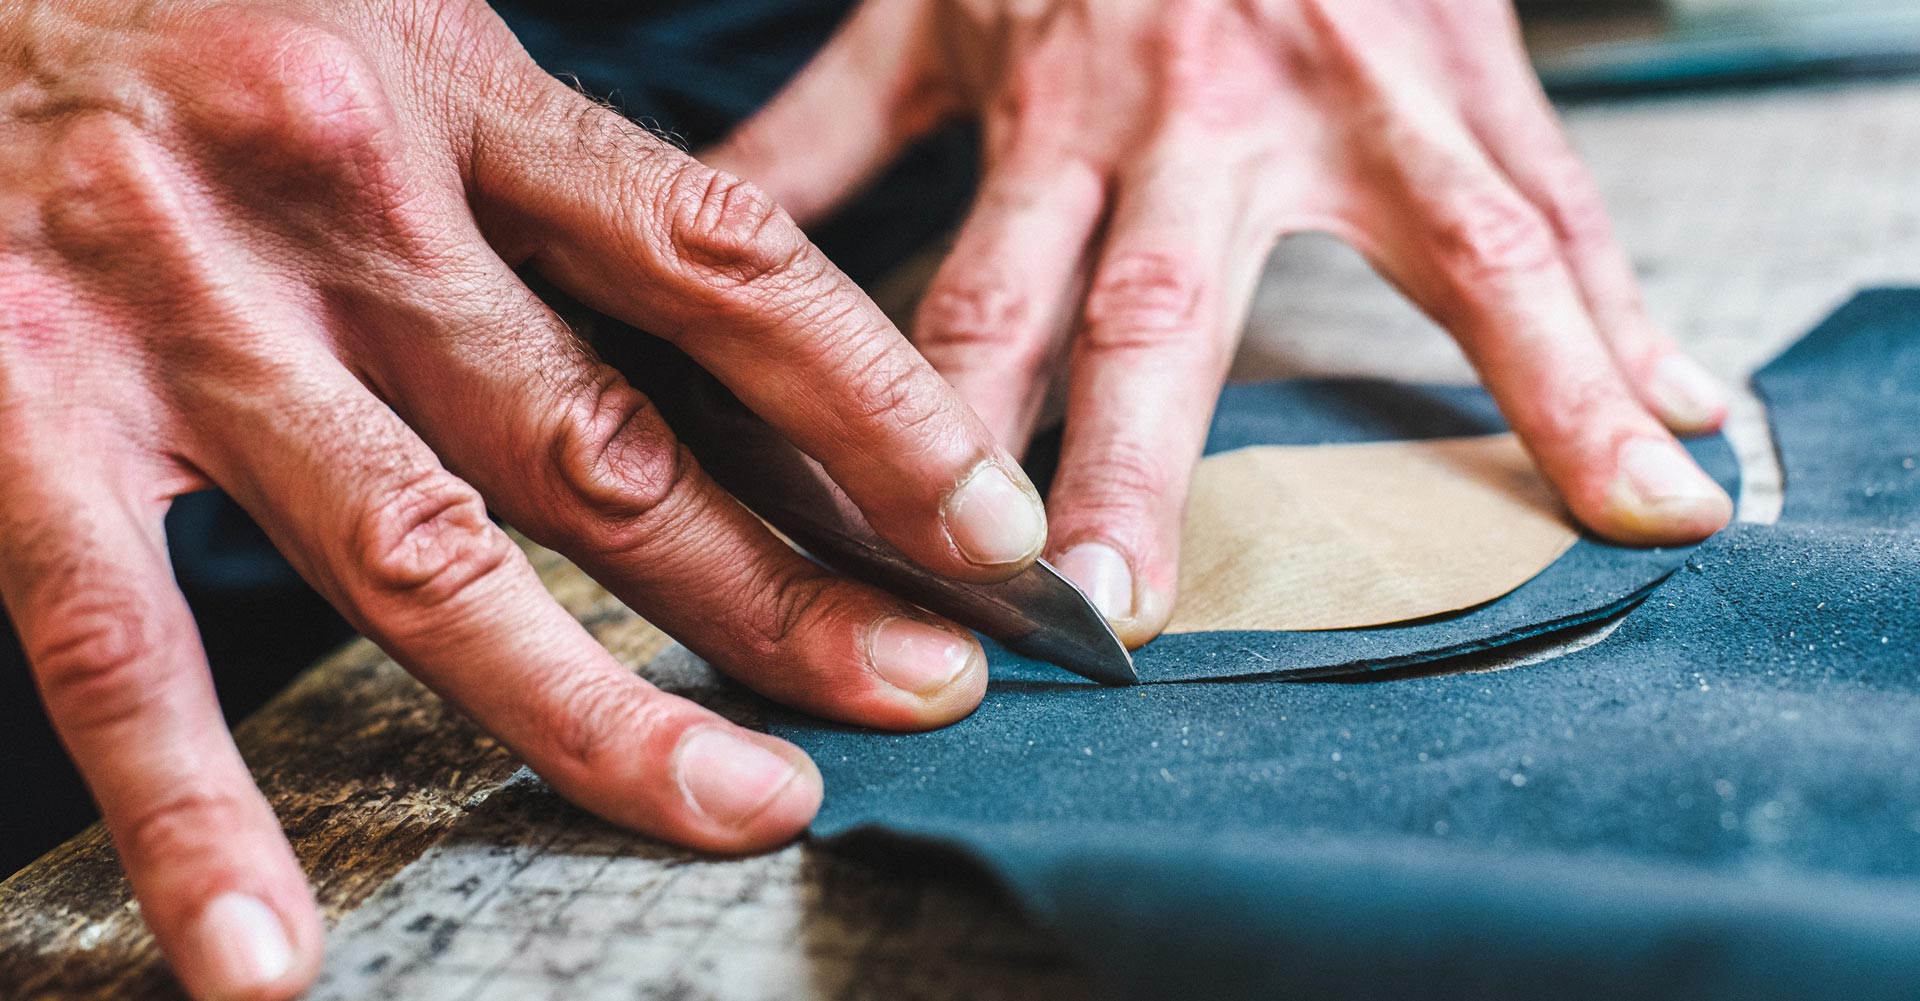
The upper or superior side, is the soul of the shoe which embraces and hugs the foot. The leather, chosen by our Client is cut and embroided directly on the paper patterns previously elaborated on the basis of his wooden last. The diferent leather part are then sowed together, and protection is added, to avoid the shoe from deforming, maintaing its orginial shape rigid and intact in throughout the years. Once the different components of the upper have been completed, the last step is that of refining every little imperfection from the embroidery to punching holes for the laces.
Starting from pieces of the rump with a height of 5-6mm, and using a simple cutter, come the different components that make up the inferior part of the shows (tramezza, sole, welt, heel’s components, ecc..). Once the partition has been nailed on the bottom part of the wooden last, the next phase is that of the stapling, the true assembly of the shoe making process. This last step, permits the upper shoe part to replicate the wooden last and therefore fit the foot perfectly. The upper shoe part will then be layed out on the wooden last and through the use of a special type of pinzers it is then fixed with small nails. The final step is for the upper part to be bashed with precision using a cobbler hammer, with the intent to smooth out all the wringles of the skin thus giving the shoe a more solid and stable shape.
The welt is a line of soft leather, previously treated, which is binded to the tramezza, the upper, and subsequently the sole.
For this technique method, which requires great ability and precision, the shoemaker needs 2 meters of linen or canapa twine. The twine has been worked and made robust through its a process developed throughout the centuries: the final result is a shoe of exceptional level, comfortable and made to last for years.
The leather soles are soaked in water (through the same procedure as the welt) and wrapped in newspaper for about 24 hours, making them more manageable during the shoe making process. The next step is the re-soling, or the process of filling of the space between the tramezza and the sole with shank (a steel piece which acts as support) and pieces of cork, precisely shaped. Before being binded, the sole is glued and pressed with the hammer head which flattens out all irregolarities.
Subsequently, the next step is the re-soling, the filling of the space between the tramezza and the A (5-6 mm from the edge), which is engraved with a piece of glass, and cut creating a small channel calledCHannel (increna). On the inside, the binding of the sole with connects with the welt.
Within the sole of a shoe made with the welt process, a single line of stiching is visible which runs on the upper side of the sole and heel thus showing that the welt and the sole have not been glued together, but binded following the methods instituted by the Ars Sutoria Italiana.
The heel is made of different layers of leather, with a height of roughly 5-6mm, united between them. The pieces of skin are bashed and left soaking in water, to make the material more solid avoiding the material to deter during the various sollecitations of the show making process. The first layer, is glued to the welt and nailed down with wooden scews: the artisan beats it with force, roughing it up with a rasp, scattering glue before adding the next layer. The various layers are then modelled with a knife, without the help of an outline or shape. You need great expertise to create the curves of the heel in such a manner that they are regular, in harmony with the rest of the shoe, but most importantly symmetrical for both the right and left shoe.
Once the sole and heel have been ultimated, the FINISSAGGIO phase begins, which in the artisan jargon is used to describe the complex decorative operations made to the shoe. The other edge of the shoe is levelled, and eventually smoothed out with a piece of glass until the wanted color is achieved. The sole, the stichting and all the other details are refinied, while the upper is carefully cleaned and ironed with a special warm cloth. Using an iron hook, the wooden last is extracted, in order to refine the internal part of the shoe, eliminating excess material and small imperfections. At this point, the shoes are shined, and as if by magic, the result is a unique artisan masterpiece.


